As nice as the two Azure management portals are (the new one is still in beta) nothing quite beats the ability to manage things through a CLI.
PowerShell being the Microsoft ‘go to’ I wanted to get myself setup to access Azure through the ISE to make things easier.
There is a good guide on Microsoft’s Azure site – http://azure.microsoft.com/en-us/documentation/articles/powershell-install-configure/
As always I’m going to put my own notes here for reference.
First and perhaps obviously you must have a subscription to Azure, this is what you are connecting with via PowerShell. Microsoft offer two methods of connecting to your Azure account, one is Azure AD and the second is via a certificate.
You need to install the Azure PowerShell cmdlet pack which is available here – https://github.com/Azure/azure-powershell/releases
I chose to download the Windows Standalone installer.
Azure Active Directory Method
Microsoft recommend using the Azure AD method, where possible you should choose this over the second method.
Open PowerShell, or the PowerShell ISE (my preference) and use the cmdlet Add-AzureAccount
PS C:\Windows\system32> Add-AzureAccount
This will cause a new window to open, enter the e-mail address associated with your Azure subscription –

The next option will display if your account is associated with more than one account, select the account that you are connecting with to continue –

The next window will prompt for your password to authenticate you –
 If you have enabled two-step verification you will be prompted to enter the code on your authenticator app –
 Assuming all steps complete successfully your PowerShell prompt will return a success –
Id                     Type       Subscriptions                         Tenants
--                     ----       -------------                         -------
[email protected]     User       aaaaaaaa-bbbb-cccc-dddd-eeeeeeeeeeee  aaaaaaaa-bbbb-cccc-dddd-eeeeeeeeeeee
Certificate Method
This is the second method available to users, adding my Azure subscription via the certificate was very easy.
Open PowerShell, or the PowerShell ISE (my preference) and use the cmdlet Get-AzurePublishSettingsFile
PS C:\Windows\system32> Get-AzurePublishSettingsFile
Once you run the command a new web page window will open and you will be prompted to save the certificate file –
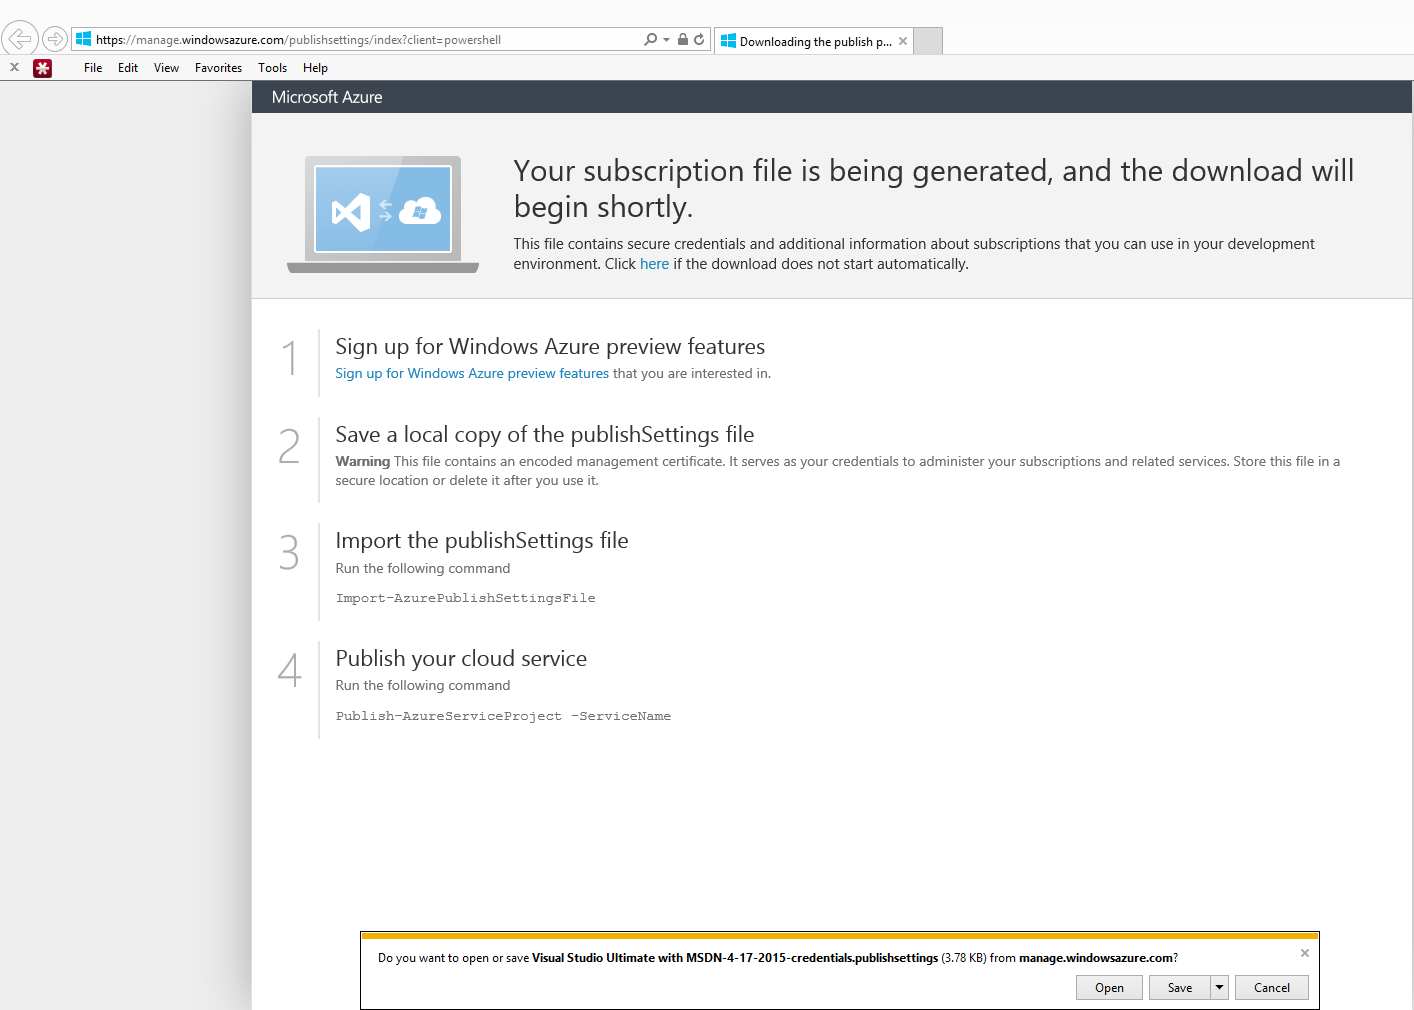
Save the file to your machine and then return to PowerShell and run the cmdlet Import-AzurePublishSettingsFile
The file itself is a simple XML file which you can view in a text editor if interested. The text will look something like this –
<?xml version="1.0" encoding="utf-8"?>
<PublishData>
  <PublishProfile
    SchemaVersion="2.0"
    PublishMethod="AzureServiceManagementAPI">
    <Subscription
      ServiceManagementUrl="https://management.core.windows.net"
      Id="aaaaaaaa-bbbb-cccc-dddd-eeeeeeeeeeee"
      Name="Visual Studio Ultimate with MSDN"
      ManagementCertificate="certificateDataRemoved" />
  </PublishProfile>
</PublishData>
I have removed the certificate data, if you are familiar with the way an x.509 certificate file looks in a text editor then that is exactly what you would see as one long string.
You can either run the cmdlet without any arguments in which case you will be prompted for the location or you can use the -PublishSettingsFile parameter to define the location.
With parameter defined –
Import-AzurePublishSettingsFile -PublishSettingsFile 'c:\users\alexbytes\desktop\Azure\Visual Studio Ultimate with MSDN-4-17-2015-credentials.publishsettings'
Without parameter defined –
PS C:\Windows\system32> Import-AzurePublishSettingsFile
cmdlet Import-AzurePublishSettingsFile at command pipeline position 1
Supply values for the following parameters:
(Type !? for Help.)
PublishSettingsFile: 'c:\users\alexbytes\desktop\Azure\Visual Studio Ultimate with MSDN-4-17-2015-credentials.publishsettings'
Once you have run the command you should (all being well) receive a prompt similar to the one below –
Id          : aaaaaaaa-bbbb-cccc-dddd-eeeeeeeeeeee
Name        : Visual Studio Ultimate with MSDN
Environment : AzureCloud
Account     : ABCDEFGHIJKLMNOPQRSTUVWXYZ0123456789
Properties  : {[SupportedModes, AzureServiceManagement]}
Now that we are connected we can try an Azure cmdlet to see what info we get back. Let’s use the Get-AzureVM cmdlet –
PS C:\Windows\system32> Get-AzureVM
ServiceName                                  Name                                        Status
-----------                                  ----                                        ------
Service01                                    VM01                                    StoppedDeallocated
Service02                                    VM02                                     ReadyRole
Microsoft Azure PowerShell has a huge range of cmdlets and the full reference for them can be found at this link – https://msdn.microsoft.com/library/azure/jj554330.aspx